AI Firewall Continuous Tests
This tutorial will guide you through how to get started with RIME by running AI Firewall Continuous Tests on an image classification model using the Animals with Attributes 2 Dataset.
Setup
CV Extras
Please ensure that the extra RIME CV dependencies have been installed from the cv_requirements.txt file from installation.
If you run into a ModuleNotFoundError at any point during this walkthrough, it is likely that you need to install the RIME CV Extras!
pip install -r cv_requirements.txt
AI Firewall Continuous Tests vs. AI Firewall Continuous Tests Trial
We offer two workflows for firewall monitoring. In the primary workflow (“RIME Firewall Continuous Tests”), the user selects their desired stress test run (corresponding to the model being deployed into production) from the UI to create a firewall. From there the user periodically uploads incoming production data to RIME.
We also offer a simpler trial workflow (“RIME Firewall Continuous Tests Trial”) to demonstrate firewall capabilities without requiring the user to upload a stress test run or create a firewall. This tutorial will provide examples for both workflows.
Running Firewall Continuous Tests on the Image Classification Example
Running AI Firewall Continuous Tests Trial
To kick off a run of RIME Firewall Continuous Tests Trial:
rime-engine run-firewall-images-trial --config-path images_examples/classification/awa2/firewall_trial_config.json
After this finishes running, you should be able to see the results in the web client, where they will be uploaded to the Default Project. For a full guide to what you are seeing, please see our UI Documentation.
For additional command line options, please see the CLI Reference.
Running AI Firewall Continuous Tests
To kick off a run of RIME Firewall Continuous Tests:
Kick off a Stress Testing run (the reference dataset and model from this run will be used for firewall continuous tests).
rime-engine run-images --config-path images_examples/classification/awa2/stress_test_config.json
Go to the RIME web client, click on the “Default Project” and navigate to the “AI Firewall” tab on the left
 . You should see the following page.
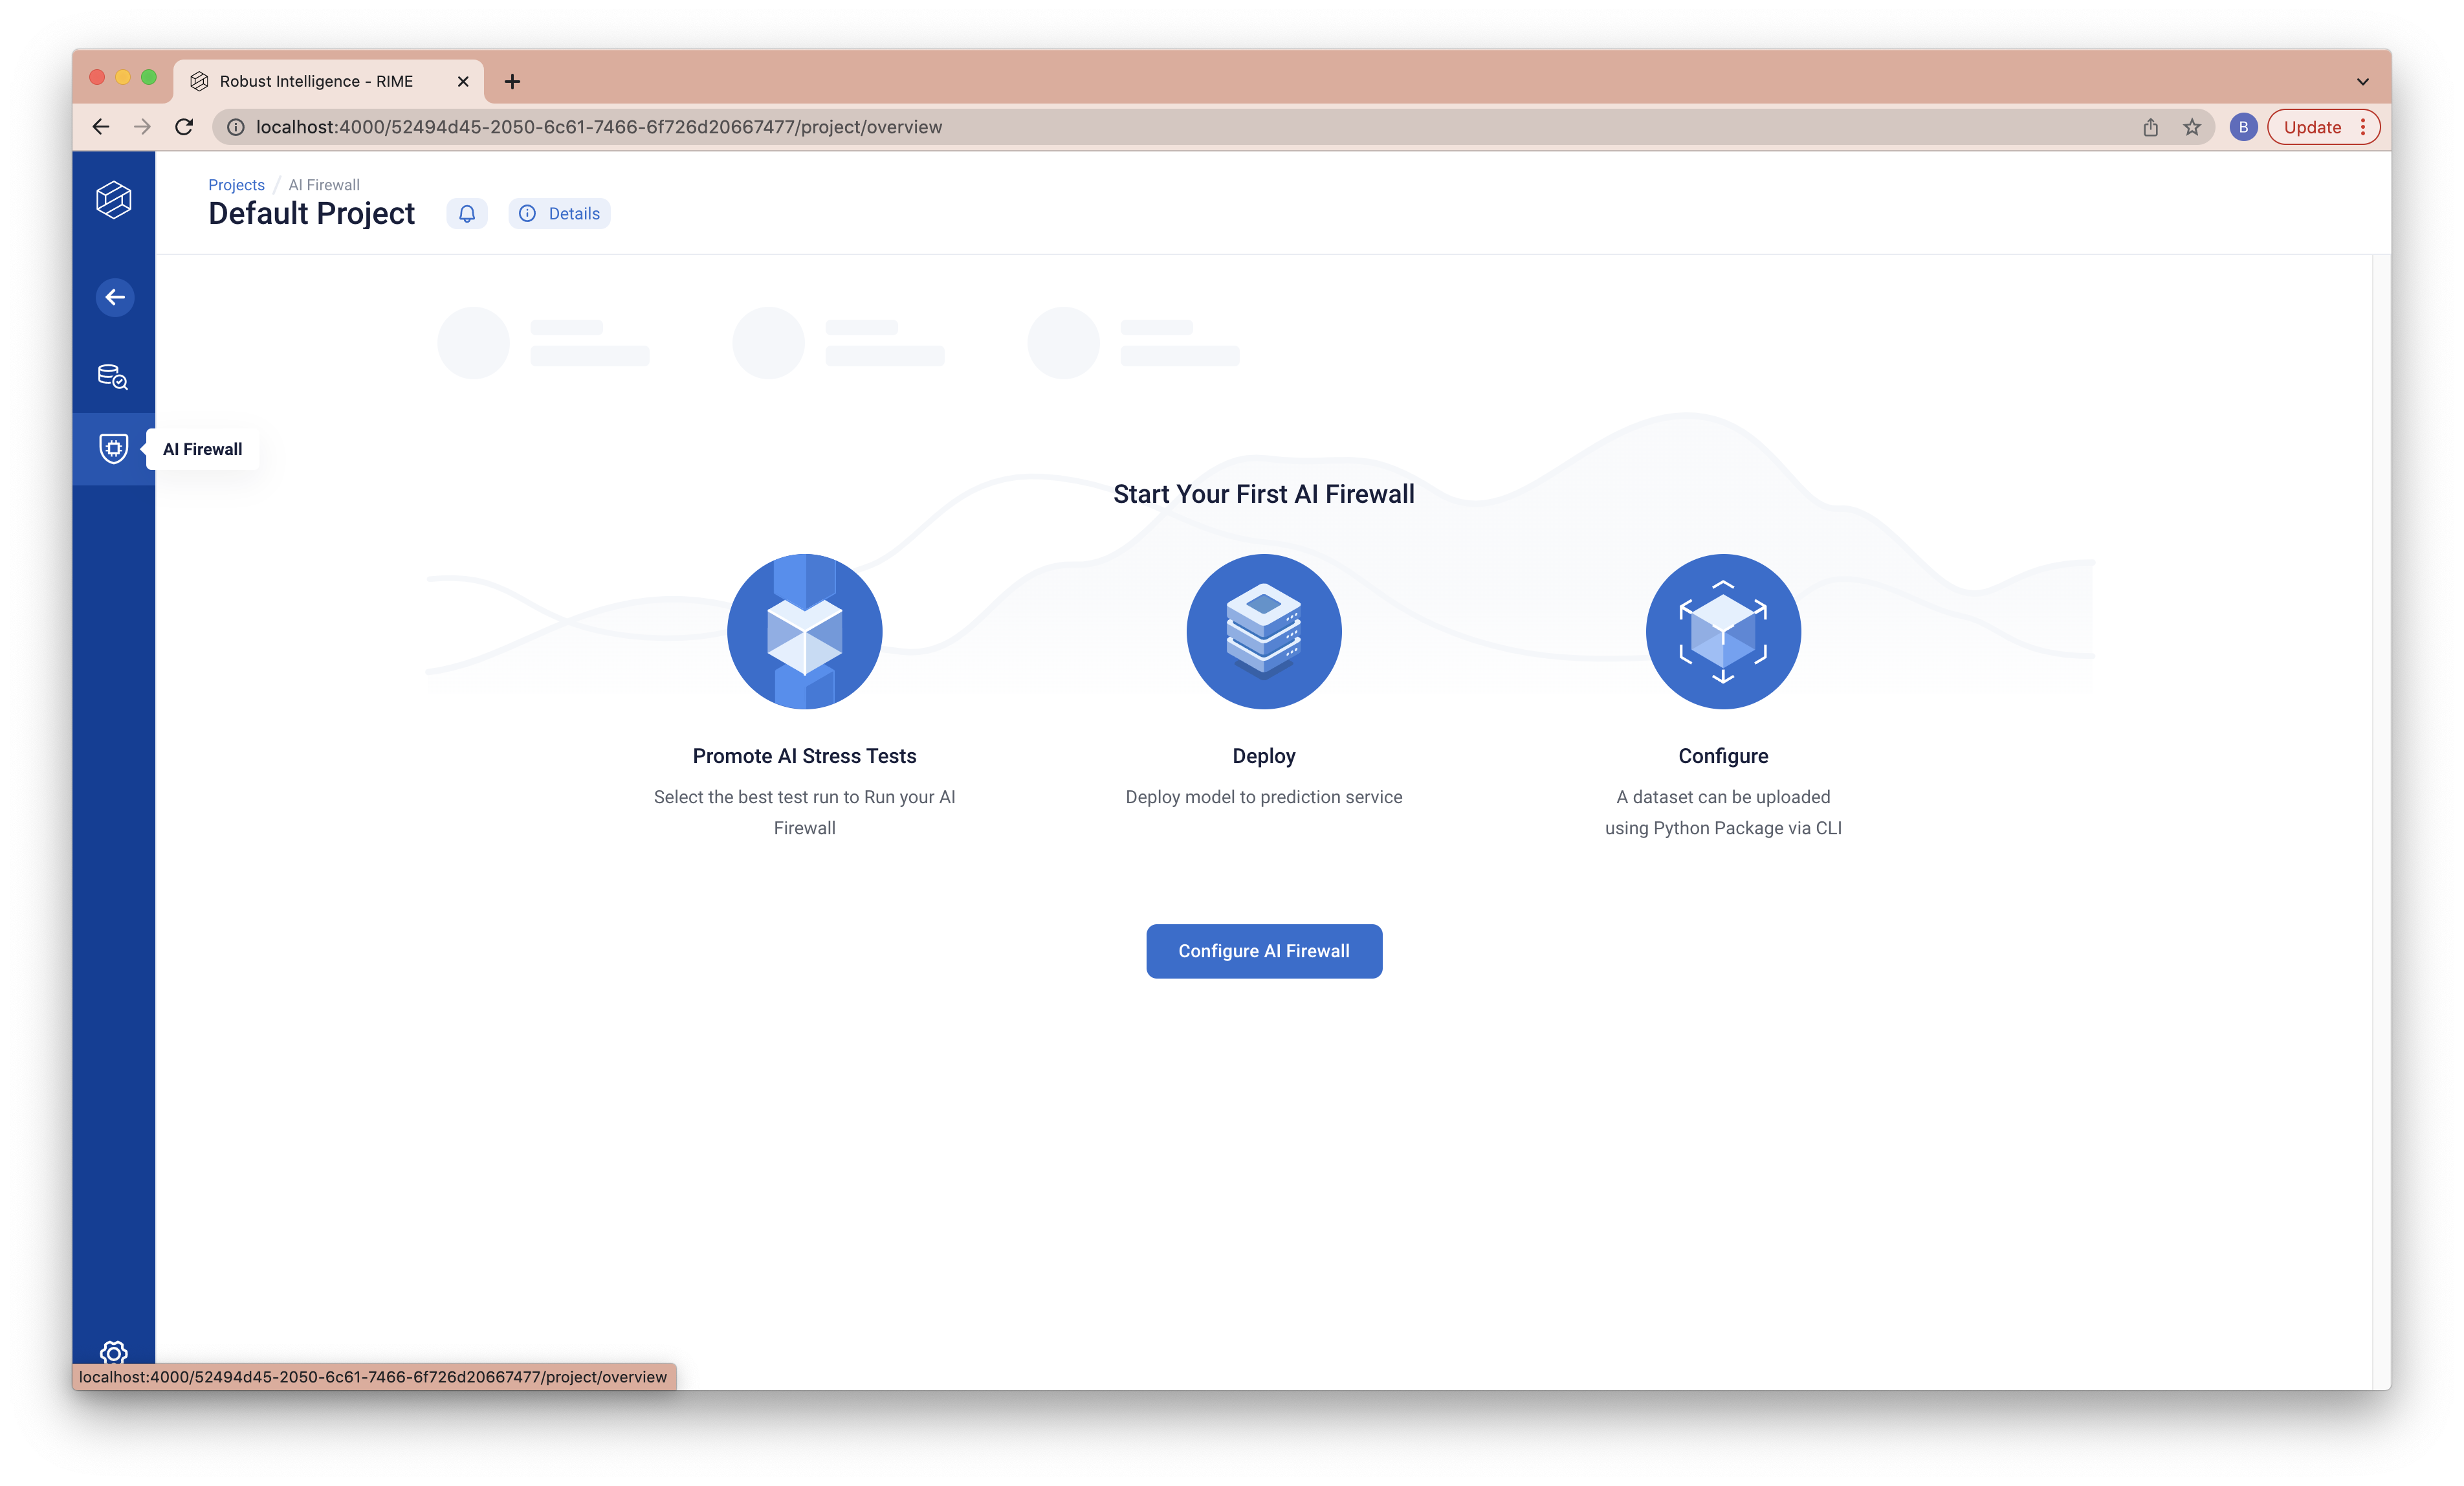
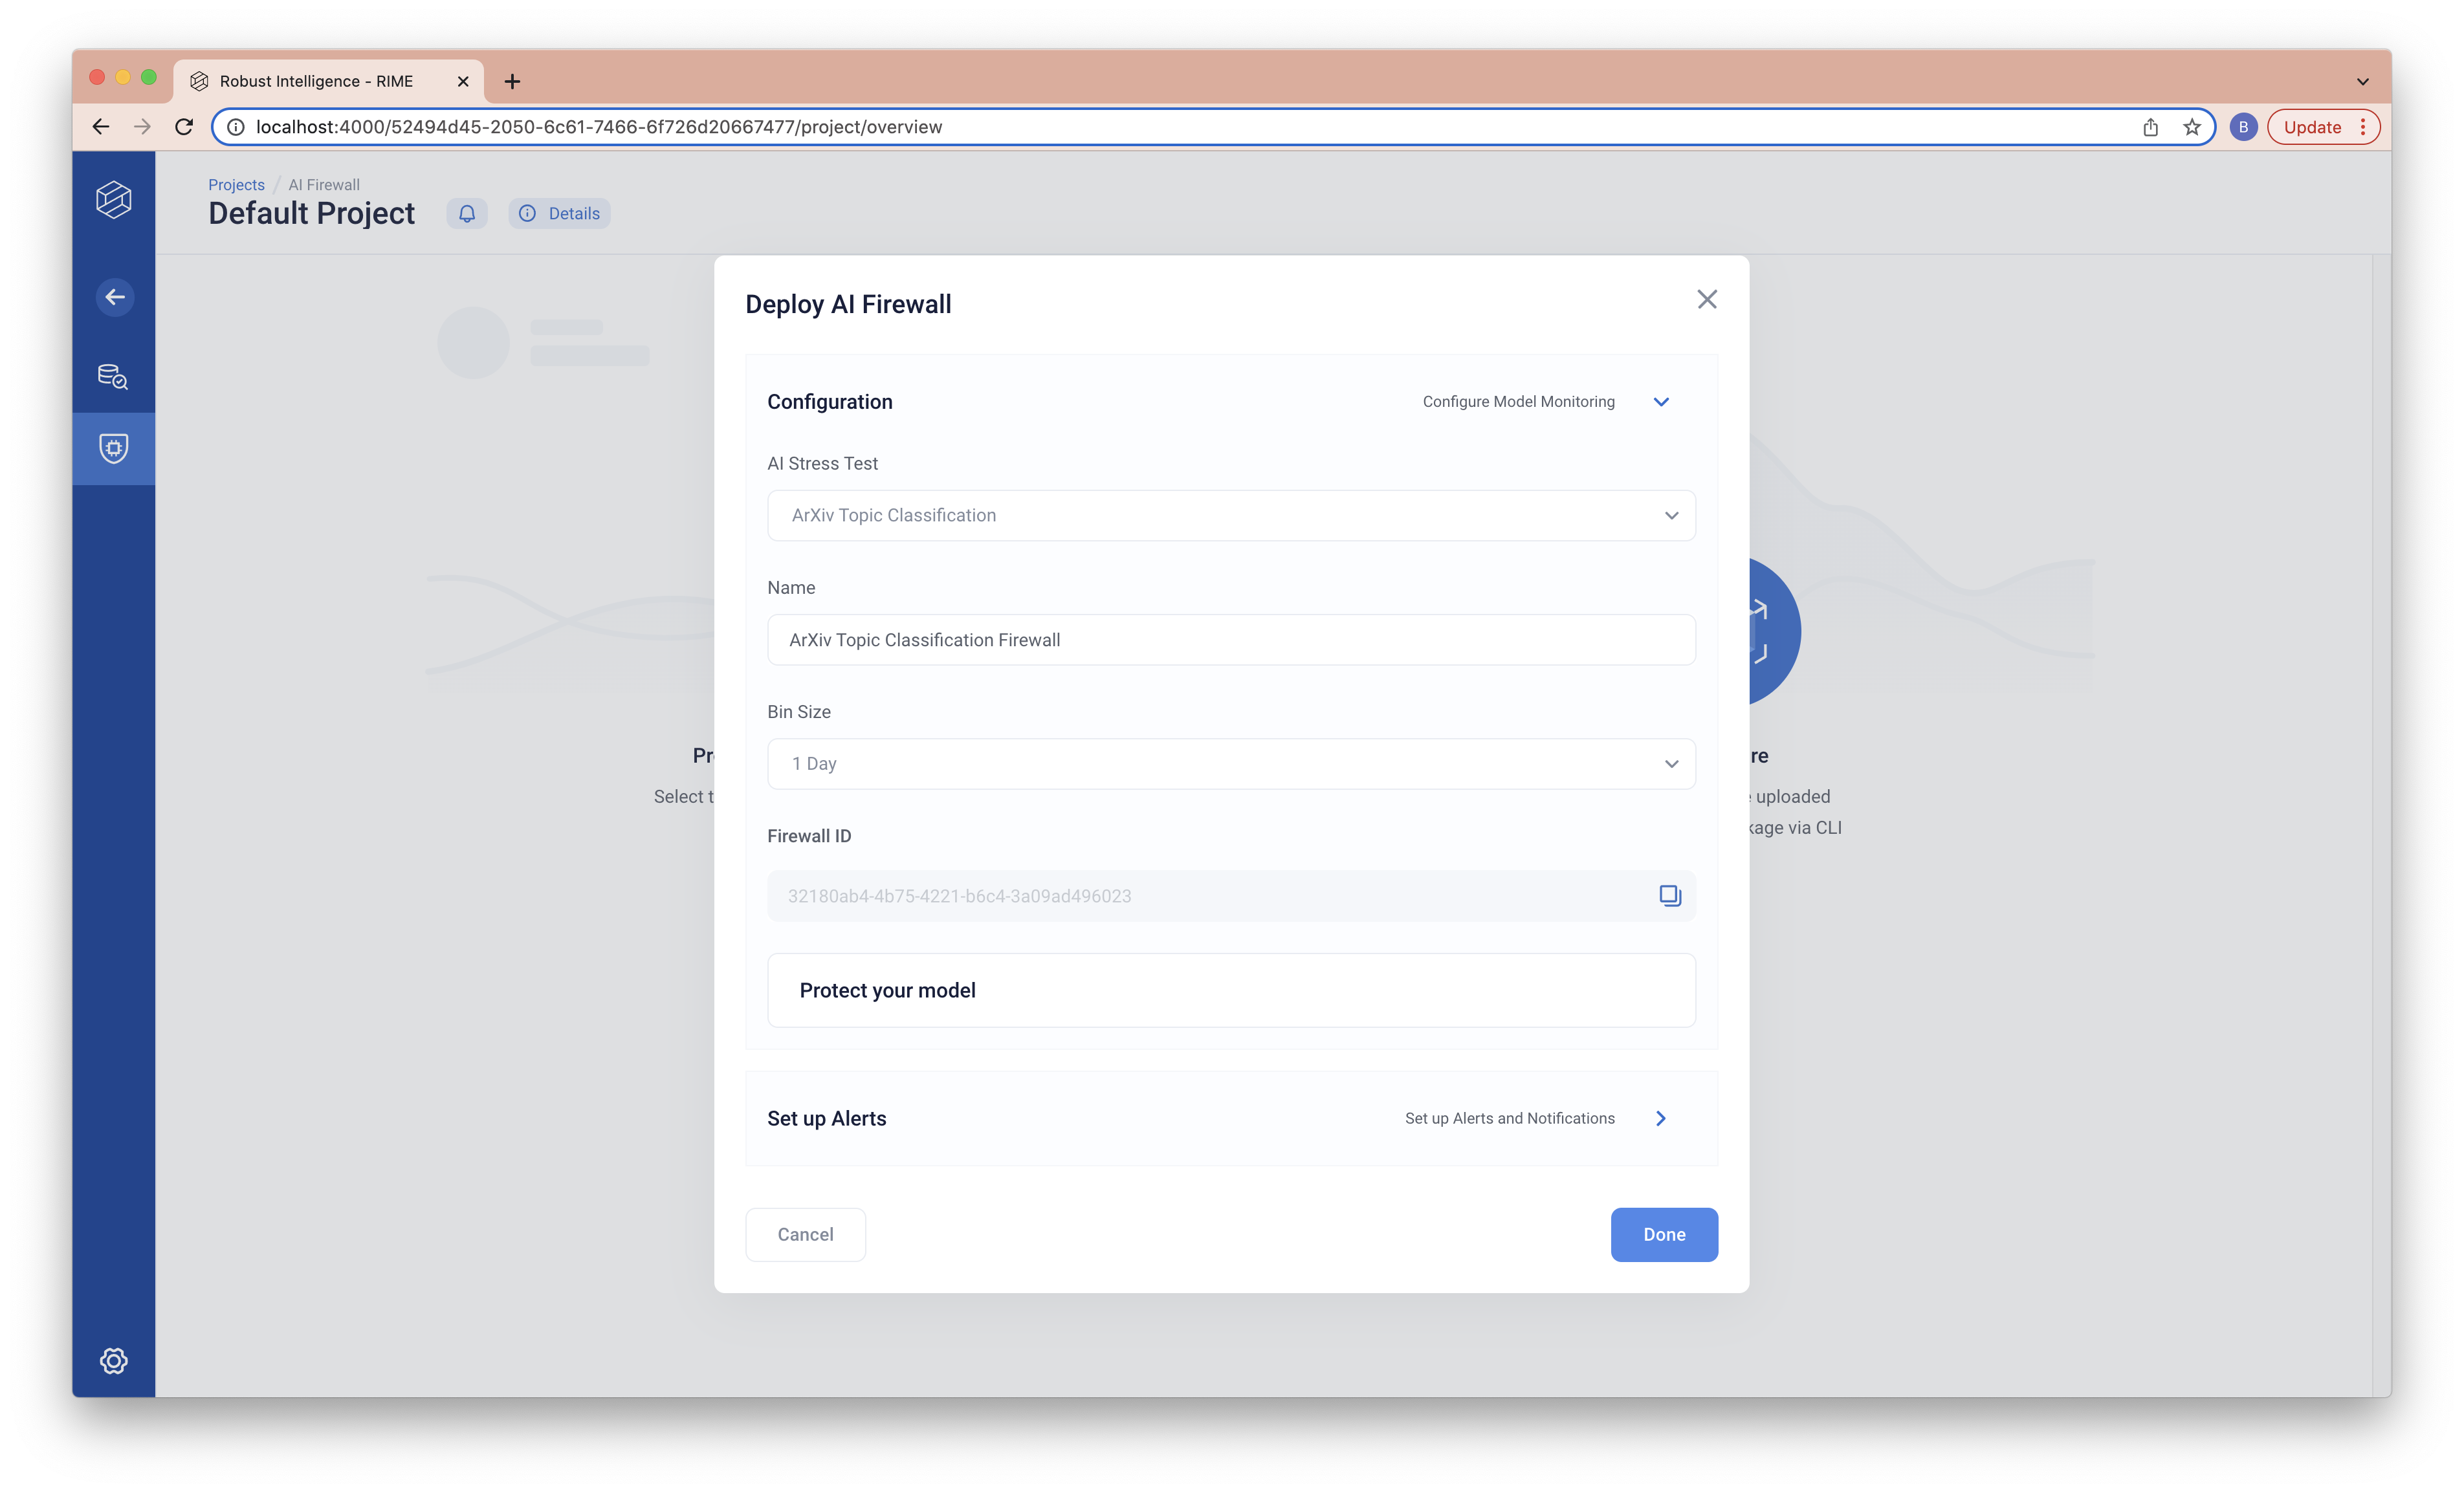
Click on “Configure AI Firewall” and fill out the details. The “Name” field can be a name of your choice. The “AI Stress Test” field should be “Image Classification” (this refers to the AI Stress Testing run that we just ran). Finally, the “Bin Size” field should be “1 Day”. Once you’ve filled everything out, you should record the “Firewall ID” (you will need this later to upload data and predictions to monitor) and click “Done”.
Using the Firewall ID we just generated, we can now upload data and predictions and run AI Firewall Continuous Tests.
rime-engine run-firewall-images --config-path images_examples/classification/awa2/firewall_config.json --firewall-id <FIREWALL-ID>
After this finishes running, you should be able to see the results in the web client, where they will be uploaded to the Default Project. For a full guide to what you are seeing, please see our UI Documentation.
For additional command line options, please see the CLI Reference.
Running Firewall Continuous Tests on the Object Detection Example
Running AI Firewall Continuous Tests Trial
To kick off a run of RIME Firewall Continuous Tests Trial:
rime-engine run-firewall-images-trial --config-path images_examples/detection/voc/firewall_trial_config.json
After this finishes running, you should be able to see the results in the web client, where they will be uploaded to the Default Project. For a full guide to what you are seeing, please see our UI Documentation.
For additional command line options, please see the CLI Reference.
Running AI Firewall Continuous Tests
To kick off a run of RIME Firewall Continuous Tests:
Kick off a Stress Testing run (the reference dataset and model from this run will be used for firewall continuous tests).
rime-engine run-images --config-path images_examples/detection/voc/stress_test_config.json
Go to the RIME web client, click on the “Default Project” and navigate to the “AI Firewall” tab on the left
. You should see the following page.
Click on “Configure AI Firewall” and fill out the details. The “Name” field can be a name of your choice. The “AI Stress Test” field should be “Object Detection” (this refers to the AI Stress Testing run that we just ran). Finally, the “Bin Size” field should be “1 Day”. Once you’ve filled everything out, you should record the “Firewall ID” (you will need this later to upload data and predictions to monitor) and click “Done”.
Using the Firewall ID we just generated, we can now upload data and predictions and run AI Firewall Continuous Tests.
rime-engine run-firewall-images --config-path images_examples/detection/voc/firewall_config.json --firewall-id <FIREWALL-ID>
After this finishes running, you should be able to see the results in the web client, where they will be uploaded to the Default Project. For a full guide to what you are seeing, please see our UI Documentation.
For additional command line options, please see the CLI Reference.
Troubleshooting
If you run into errors running this walkthrough, please reference the RIME Python Package section of our FAQ. Additionally, your RI representative will be happy to assist–feel free to reach out!