Protecting Your Model with AI Firewall
This guide will cover how to configure the AI Firewall in the realtime use-case for CV tasks.
AI Firewall Realtime detects bad incoming model inputs in near-real time. Similar to the AI Firewall Continuous Tests, AI Firewall Realtime is automatically trained from an AI Stress Testing run and can be used to wrap your model and protect it from “bad” incoming data.
In this walkthrough, we will be using the Image Classification dataset.
Overview
AI Firewall Realtime can be easily setup via instantiation from an existing AI Stress Testing Run. You can also view a “simulation” of real-time events by running AI Firewall Continuous Tests over CV data.
Run AI Stress Testing
Review and Download Auto-Configured AI Firewall Rules
Setup a Firewall Client in a Jupyter Notebook
Monitor Events
1. Run AI Stress Testing
The first step in setting up AI Firewall Realtime is running AI Stress Testing, and configuring an AI Firewall for a given project. These steps are very similar to steps 1-3 of the AI Firewall Continuous Tests tutorial.
rime-engine run-images --config-path images_examples/classification/awa2/stress_test_config.json
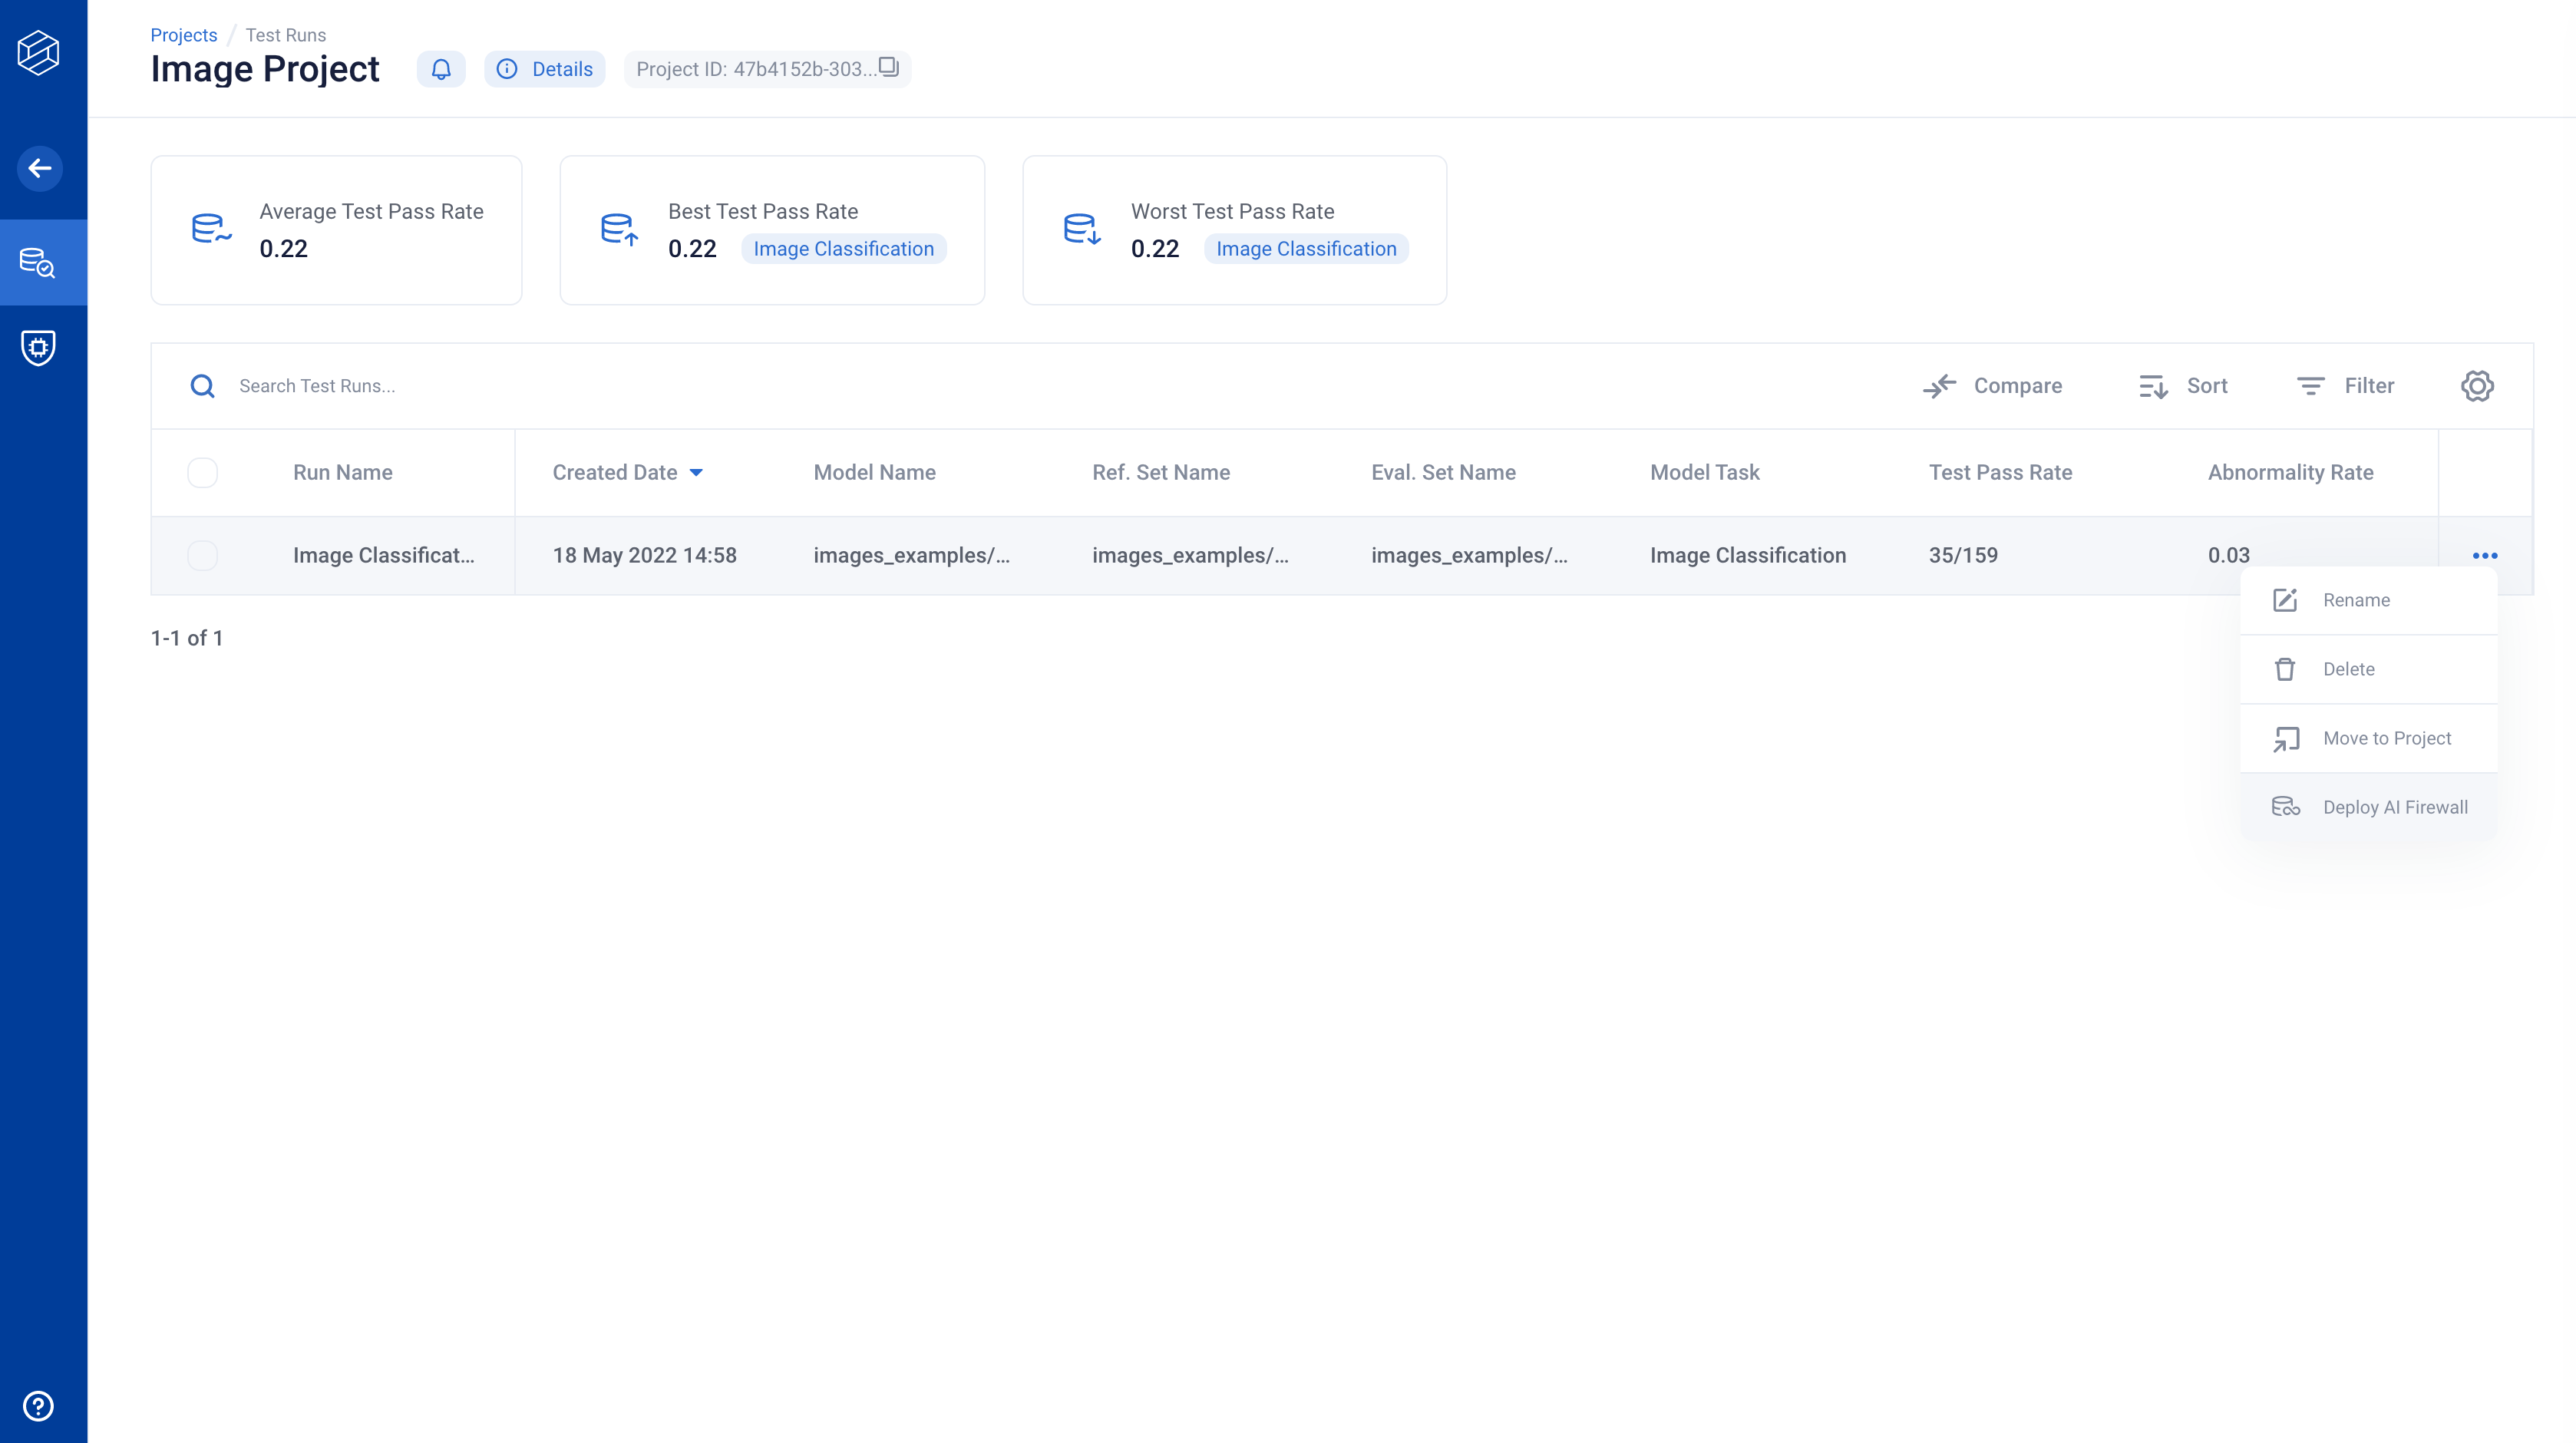
Next, click on “Configure AI Firewall” and fill out the details. The step is the same as step 3 in the Firewall Continuous Tests tutorial.
This step sets up an AI Firewall so that you can either use it in the Continuous Tests or Realtime setting.
2. Review auto-configured AI Firewall Rules and Download
AI Firewall Realtime is configured from a JSON configuration file (rules.json).
This configuration is auto-generated based on the model and datasets that you provided
to run AI Stress Testing.
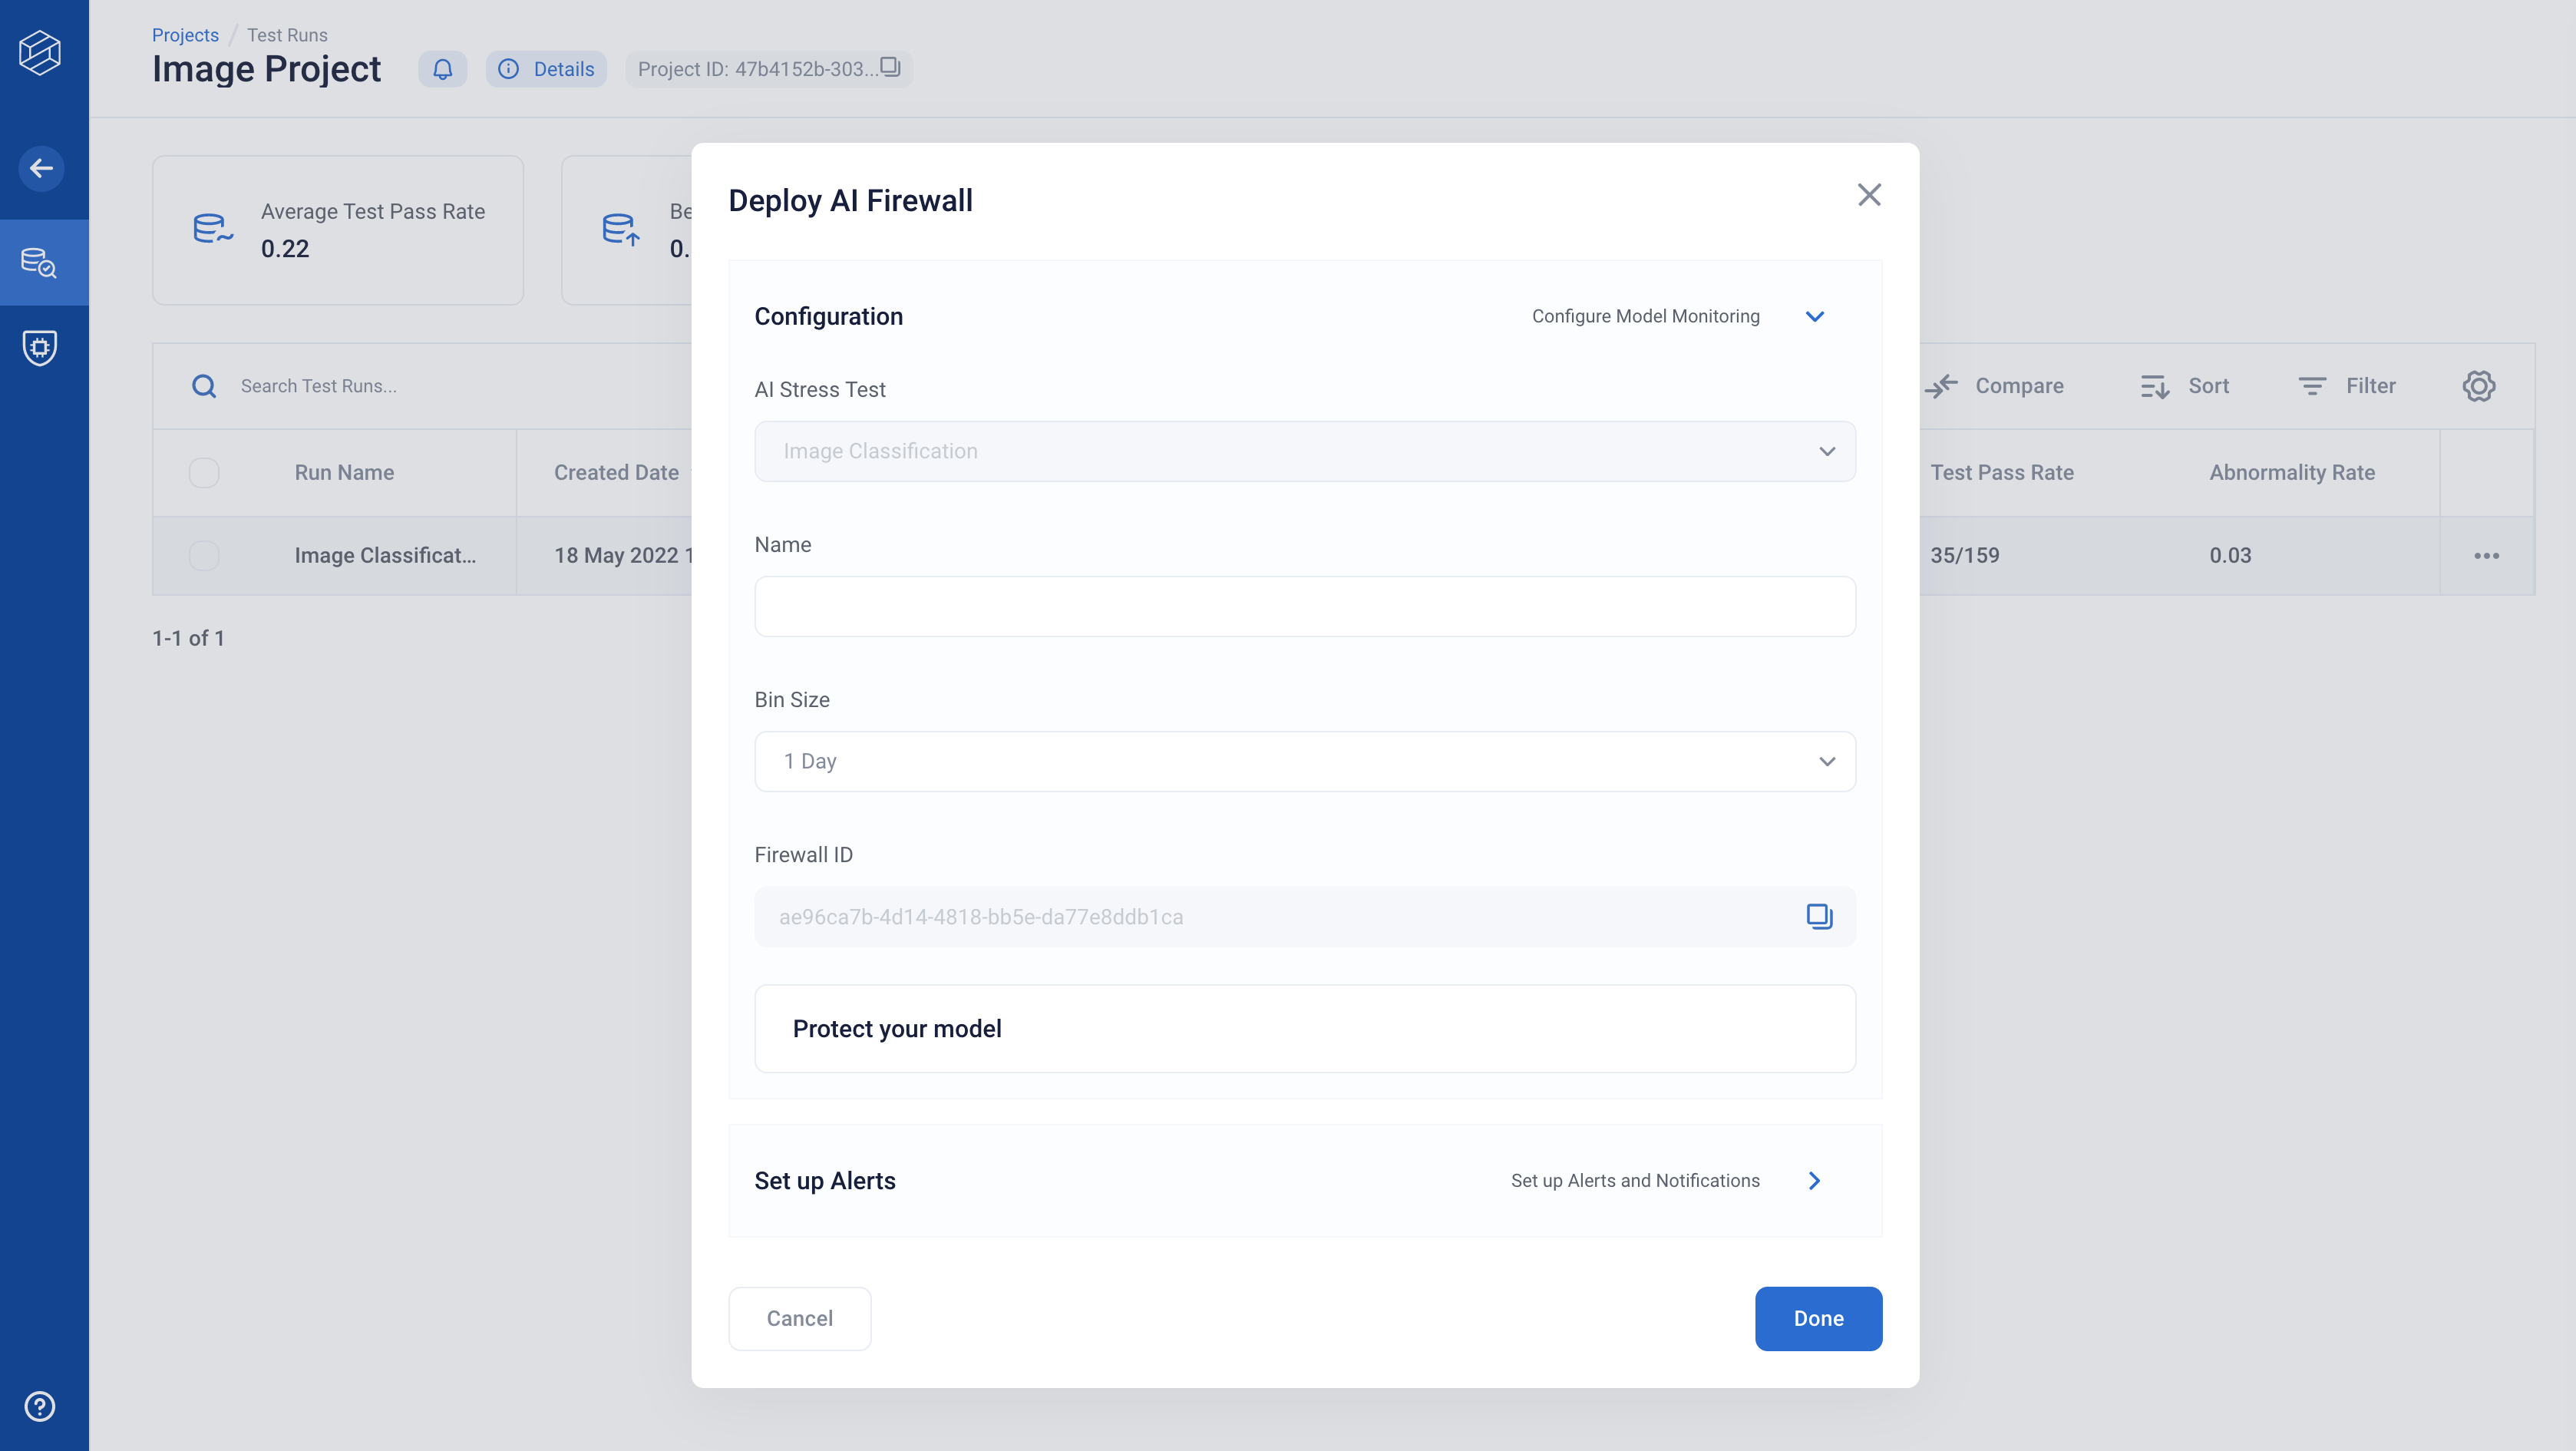
To view and download the JSON configuration file, click on “Protect your model”.
At this step, copy the Firewall ID and download the rules.json files — you will need them for later steps in this walkthrough.
Once downloaded, place rules.json in your rime_trial/ folder
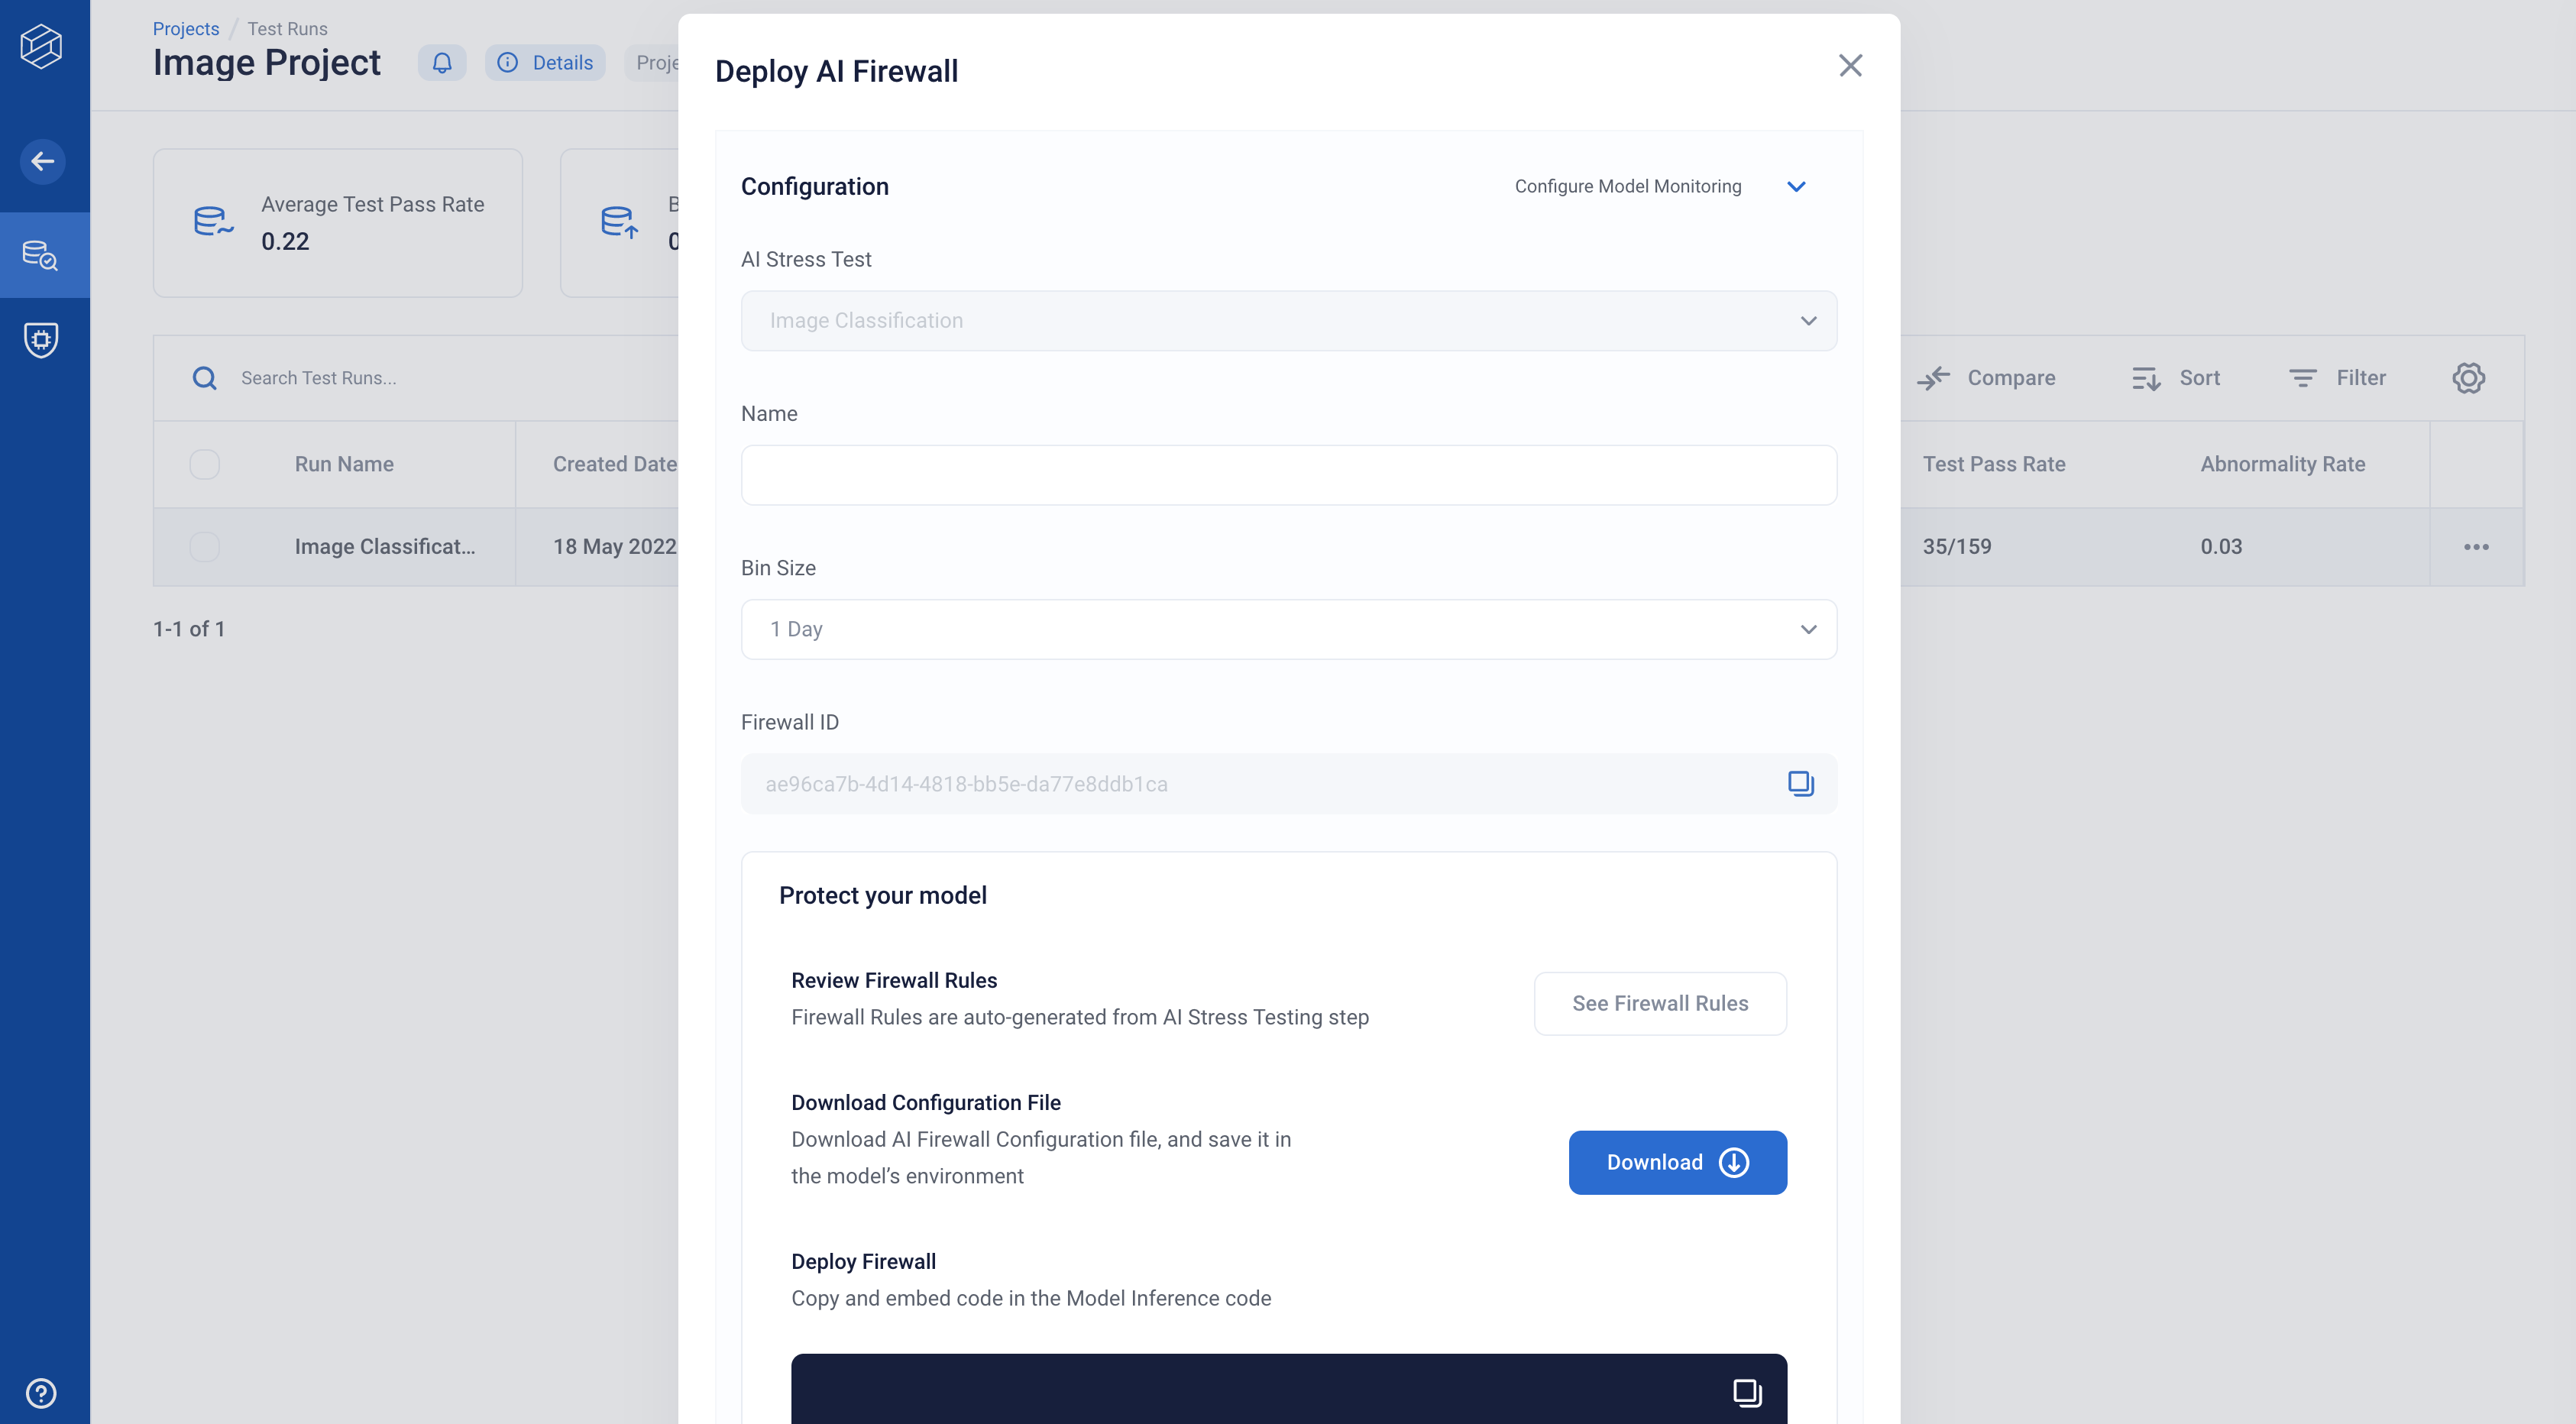
Download the configuration file and place it in your rime_trial folder.
Copy example code and firewall endpoint and paste it in your inference code
We provide an example to wrap your inference code with the Firewall code. The Firewall endpoint allows for incoming events to be monitored in the app.
You will also see a field called “Firewall Key” on the configuration page.
Keep this key in mind; we will be using it when we incorporate the firewall into the model inference code.
3. Setup a Firewall Realtime Client in a Jupyter Notebook
Within the tutorial directory, we’ll want to open up a Jupyter notebook.
pip install notebook
pip install ipykernel
python -m ipykernel install --user --name=rime-venv
jupyter notebook
When creating a new notebook, be sure to use the rime-venv kernel as opposed
to the default Python 3 kernel!
Initialization
Let’s import some code to the notebook. Remember to make sure
that you create the notebook in your rime_trial folder!
import numpy as np
import os
import json

RIME_PATH = os.path.abspath('.')
Now we are ready to initialize/run the Firewall in a real-time setting!
Running the AI Firewall Realtime with sample datapoints
Let’s first import the Firewall Realtime package:
from rime.images.firewall.base import ImageFirewall
from rime.tabular.firewall.uploader import FirewallUploader
from rime.core.client.firewall_client import FirewallClient
from rime.images.schema.task import Task
Let’s then instantiate a firewall object:
firewall_id = "$YOUR_FIREWALL_ID"
firewall_url = "$YOUR_FIREWALL_ENDPOINT"
upload_client = FirewallUploader.from_url(
    firewall_id,
    firewall_url,
)
fw_client = FirewallClient.from_cli_args(firewall_url)
firewall = ImageFirewall.from_components(
    firewall_id,
    "image_rules.json",
    task=Task.CLASSIFICATION,
    upload_client=upload_client,
    firewall_client=fw_client
)
Replace $YOUR_FIREWALL_ID with the Firewall ID from the configuration page.
4. Monitor events
Finally, let’s try to pass in a sample datapoint! Let’s get that from the
provided data (we assume that we are in the rime_trial directory):
test_data_path = 'images_examples/classification/awa2/data/test_inputs_trial.json'
test_data = json.load(open(test_data_path, 'r'))
test_datapoint = test_data[127].copy()
The firewall surfaces a graph of “flagged” events. Datapoints that do not raise errors will not be logged in the UI. This specific datapoint contains an image example that is unusually bright. Now let’s run the firewall over this datapoint.
probs = np.array(test_datapoint["probabilities"])
firewall_response = firewall.validate_single_and_upload(test_datapoint, pred=probs)
If you take a look at firewall_response.summary.action you’ll find that the Firewall has flagged the datapoint.
Once you have deployed your firewall, and input data are starting to roll in,
the AI Firewall will evaluate each and every data point, and output a decision:
flag, pass, impute, or block based on the rules criteria.
NOTE: Only non-passing datapoints will be shown in the UI. That way, you are only alerted on problematic datapoints.
Troubleshooting
If you run into issues, please refer to our Troubleshooting page for help! Additionally, your RI representative will be happy to assist — feel free to reach out!